Access 301: Ephemeral Authentication > Class - Access 301: Ephemeral Authentication > Module 2 - Implement Priviledged User Access Authentication Source |
Lab 2.6 - Creating an APM Policy - CAC Authentication
In this section, you will build a macro to request the user certificate.
Task - Build CAC AUTH Macro
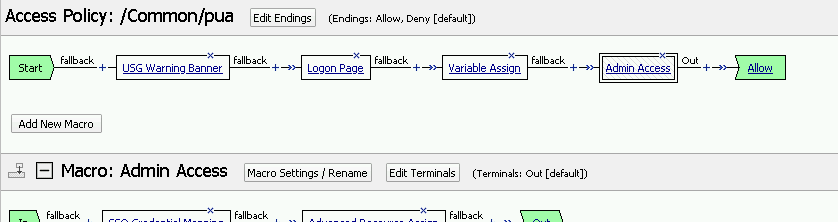
Click the Add New Macro button
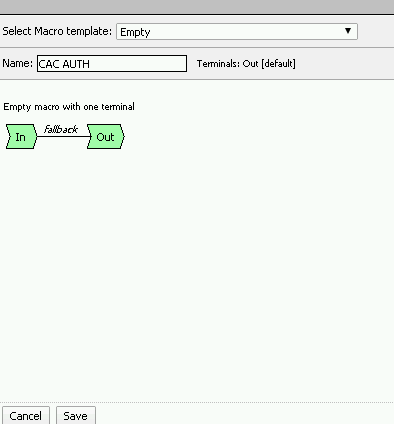
Give the macro a name and click Save
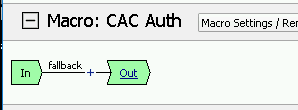
Open the newly created macro by clicking the plus sign by the name CAC Auth. Next, click the plus sign between In and Out
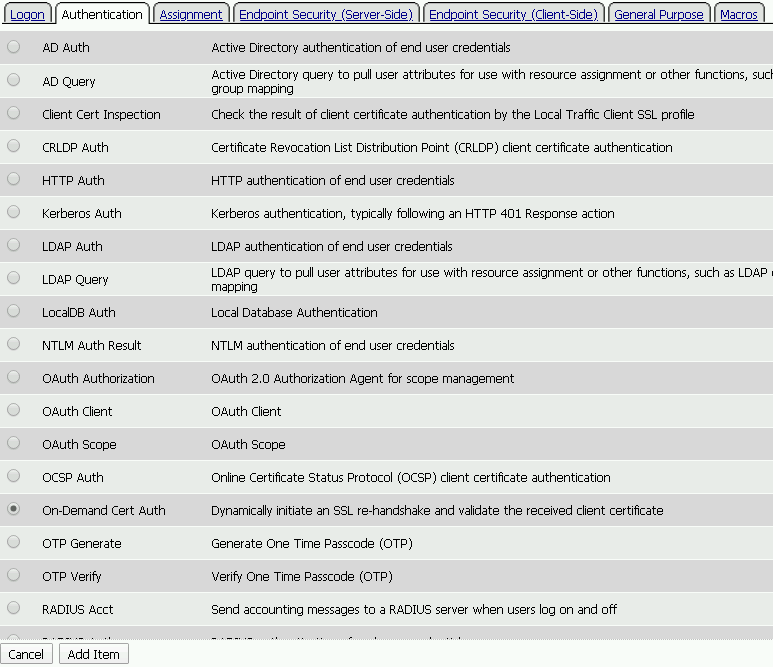
Click the Authentication tab across the top, select On-Demand Cert Auth, and click Add Item
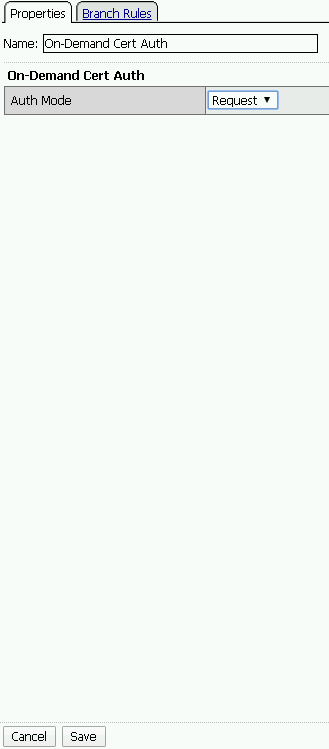
Leave the Auth Mode set to the default Request, and click Save
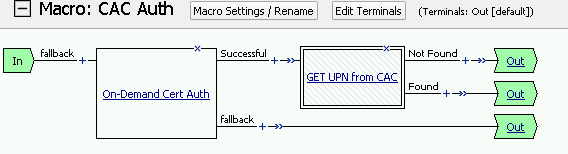
Click the plus sign on the Successful branch
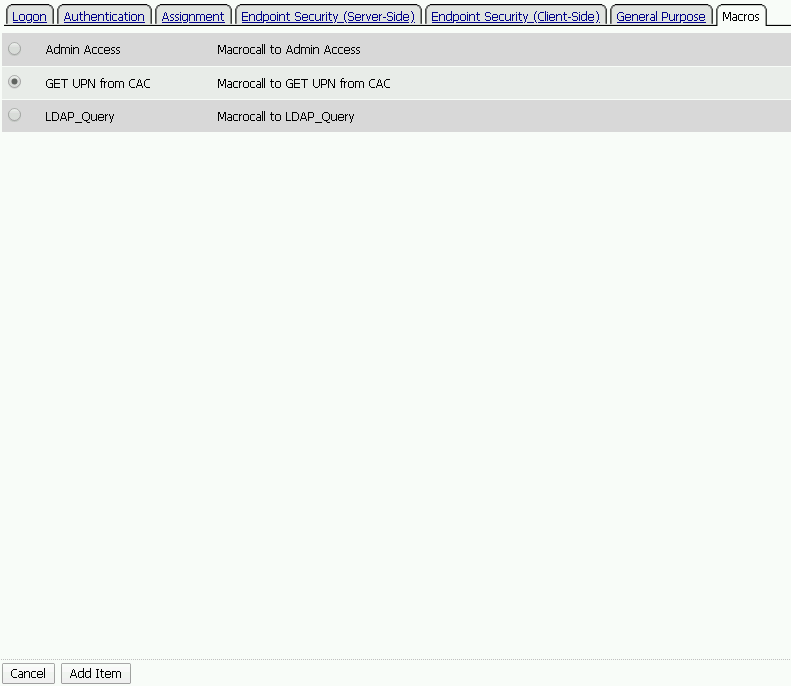
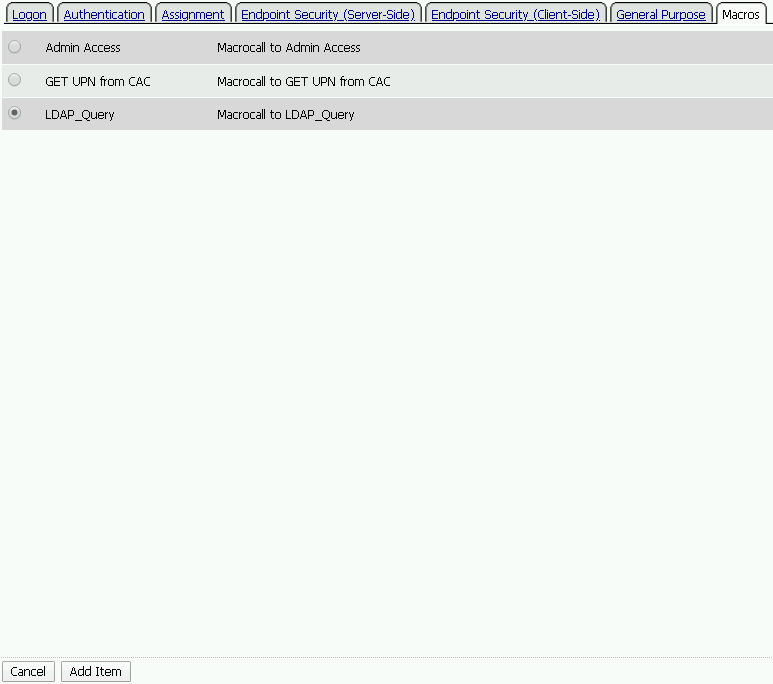
Click the Macros tab across the top, select the GET UPN from CAC button in the main page, and click Add Item
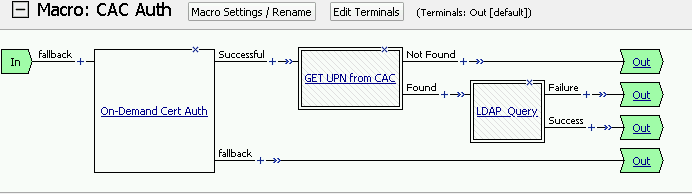
Click the plus sign on the Found branch
Click the Macros tab across the top, select the LDAP_Query button in the main page, and click Add Item
Click the plus sign on the fallback branch after the On-Demand Cert Auth
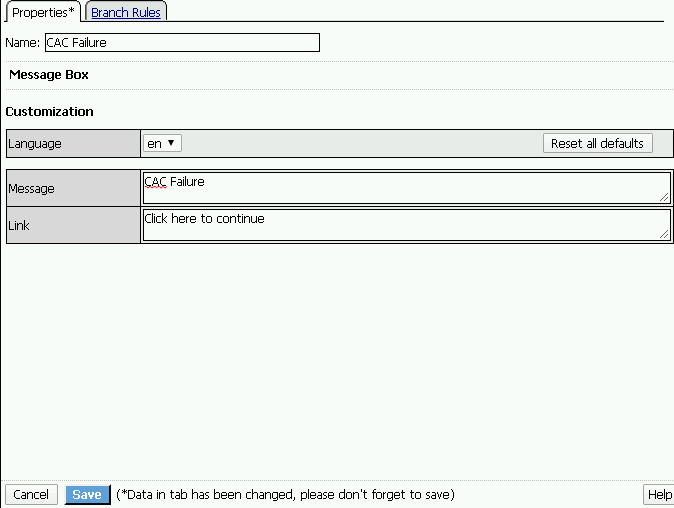
Click the General Purpose tab across the top, select Message Box in the main page, and click Add Item
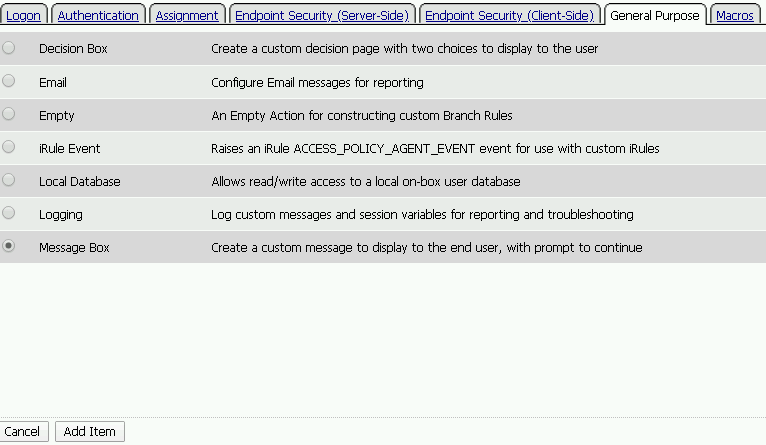
Provide a Name for the message box, enter a Message, and click Save
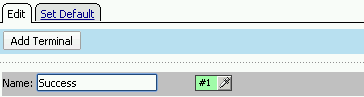
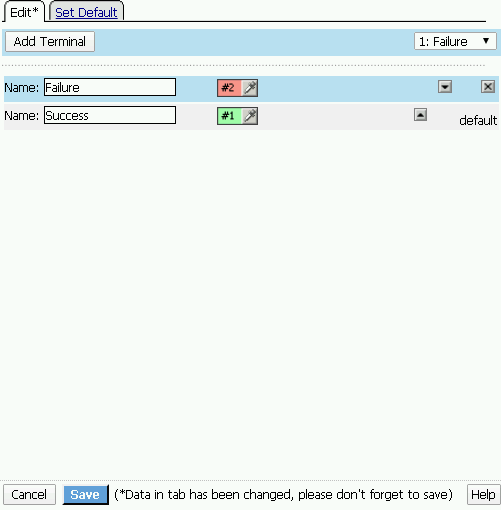
Click Edit Terminals
Change the default name from Out to Success, and click Add Terminal
Change the default Name from Termainal 2 to Failure
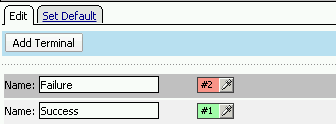
Click the down arrow beside the Failure box to change the order. The Success terminal should be on top. Click Save
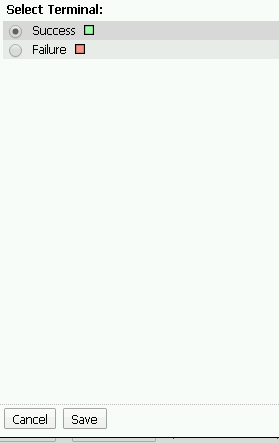
Click the terminals on the Not Found, Failure, and Fallback and change the terminals from Success to Failure. Remember to click Save!
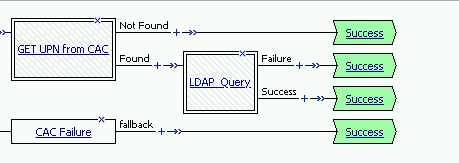
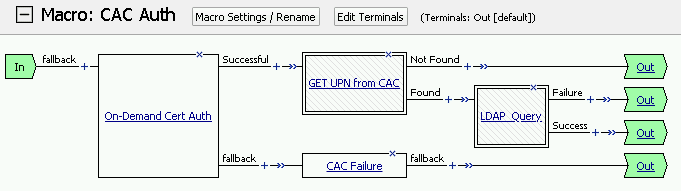
Note
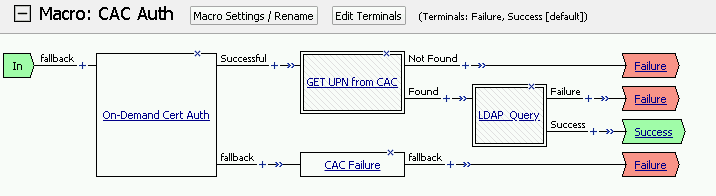
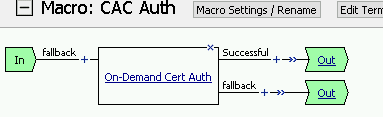
The completed CAC Auth Macro